How to Make DIY Candles: A Step-by-Step Guide
Making your own candles at home can be a fun and rewarding experience. Not only do you get to customize the scent, color, and shape, but you also create a relaxing atmosphere for your home. Whether you’re looking to create a cozy ambiance or unique gifts for friends and family, this step-by-step guide will walk you through the process of making DIY candles.
Materials You’ll Need
Before you begin, gather the necessary materials. You will need wax (soy, beeswax, or paraffin), wicks, a double boiler or microwave-safe container, fragrance oils, candle dye (optional), a thermometer, a stirring utensil, and containers for your candles. Make sure to also have a heat source (stove or microwave), glue dots or a hot glue gun to secure the wicks, and a pair of scissors.
Step-by-Step Instructions
Step 1: Prepare Your Work Area
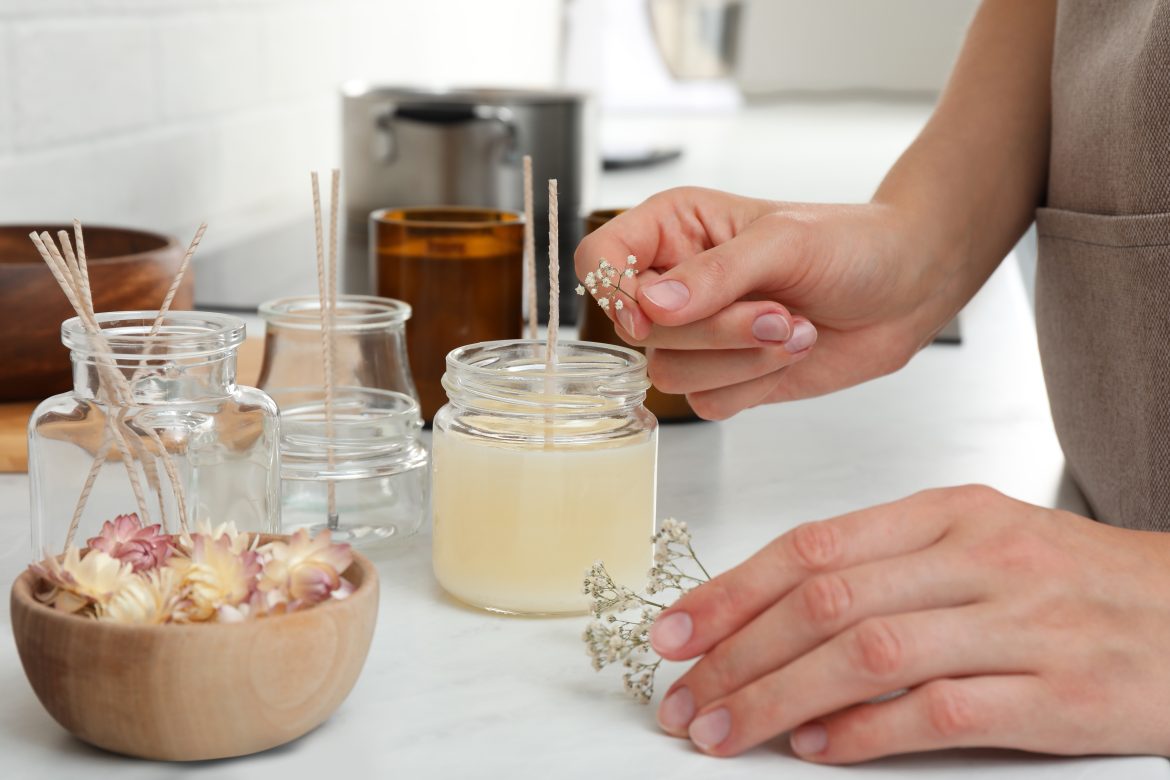
Set up your workspace by covering the area with newspaper or an old cloth to catch any spills. Arrange your materials within easy reach. Secure the wicks to the bottom center of your containers using glue dots or a hot glue gun. Ensure the wicks are standing straight.
Step 2: Melt the Wax
Using a double boiler, melt the wax over medium heat, stirring occasionally. If you don’t have a double boiler, you can use a microwave-safe container and heat the wax in 30-second intervals, stirring in between. Use a thermometer to monitor the temperature. Soy wax should be melted to around 170-180°F (77-82°C), while beeswax requires a higher temperature, around 145°F (63°C).
Step 3: Add Color and Fragrance
Once the wax is melted, remove it from the heat source. Add your desired amount of candle dye and stir until fully incorporated. Next, add fragrance oils, following the manufacturer’s recommended usage rate (usually around 6-10% of the total wax weight). Stir the mixture well to ensure the fragrance is evenly distributed.
Step 4: Pour the Wax
Carefully pour the melted wax into your prepared containers, holding the wick in place to keep it centered. Leave a small amount of wax in the container to top off the candles later. Allow the candles to cool and harden for several hours at room temperature.
Step 5: Finish and Trim the Wick
After the candles have fully cooled and hardened, reheat the remaining wax and pour a thin layer on top to smooth out any imperfections. Allow it to cool again. Once completely set, trim the wick to about 1/4 inch (0.6 cm) above the wax surface. Your candles are now ready to use!

Enjoying Your Handmade Candles
Making your own candles is a rewarding DIY project that allows for endless customization. Experiment with different scents, colors, and container types to create unique candles that suit your style and home decor. Whether you keep them for yourself or gift them to loved ones, homemade candles bring a personal touch and cozy atmosphere to any space. Happy candle making!
